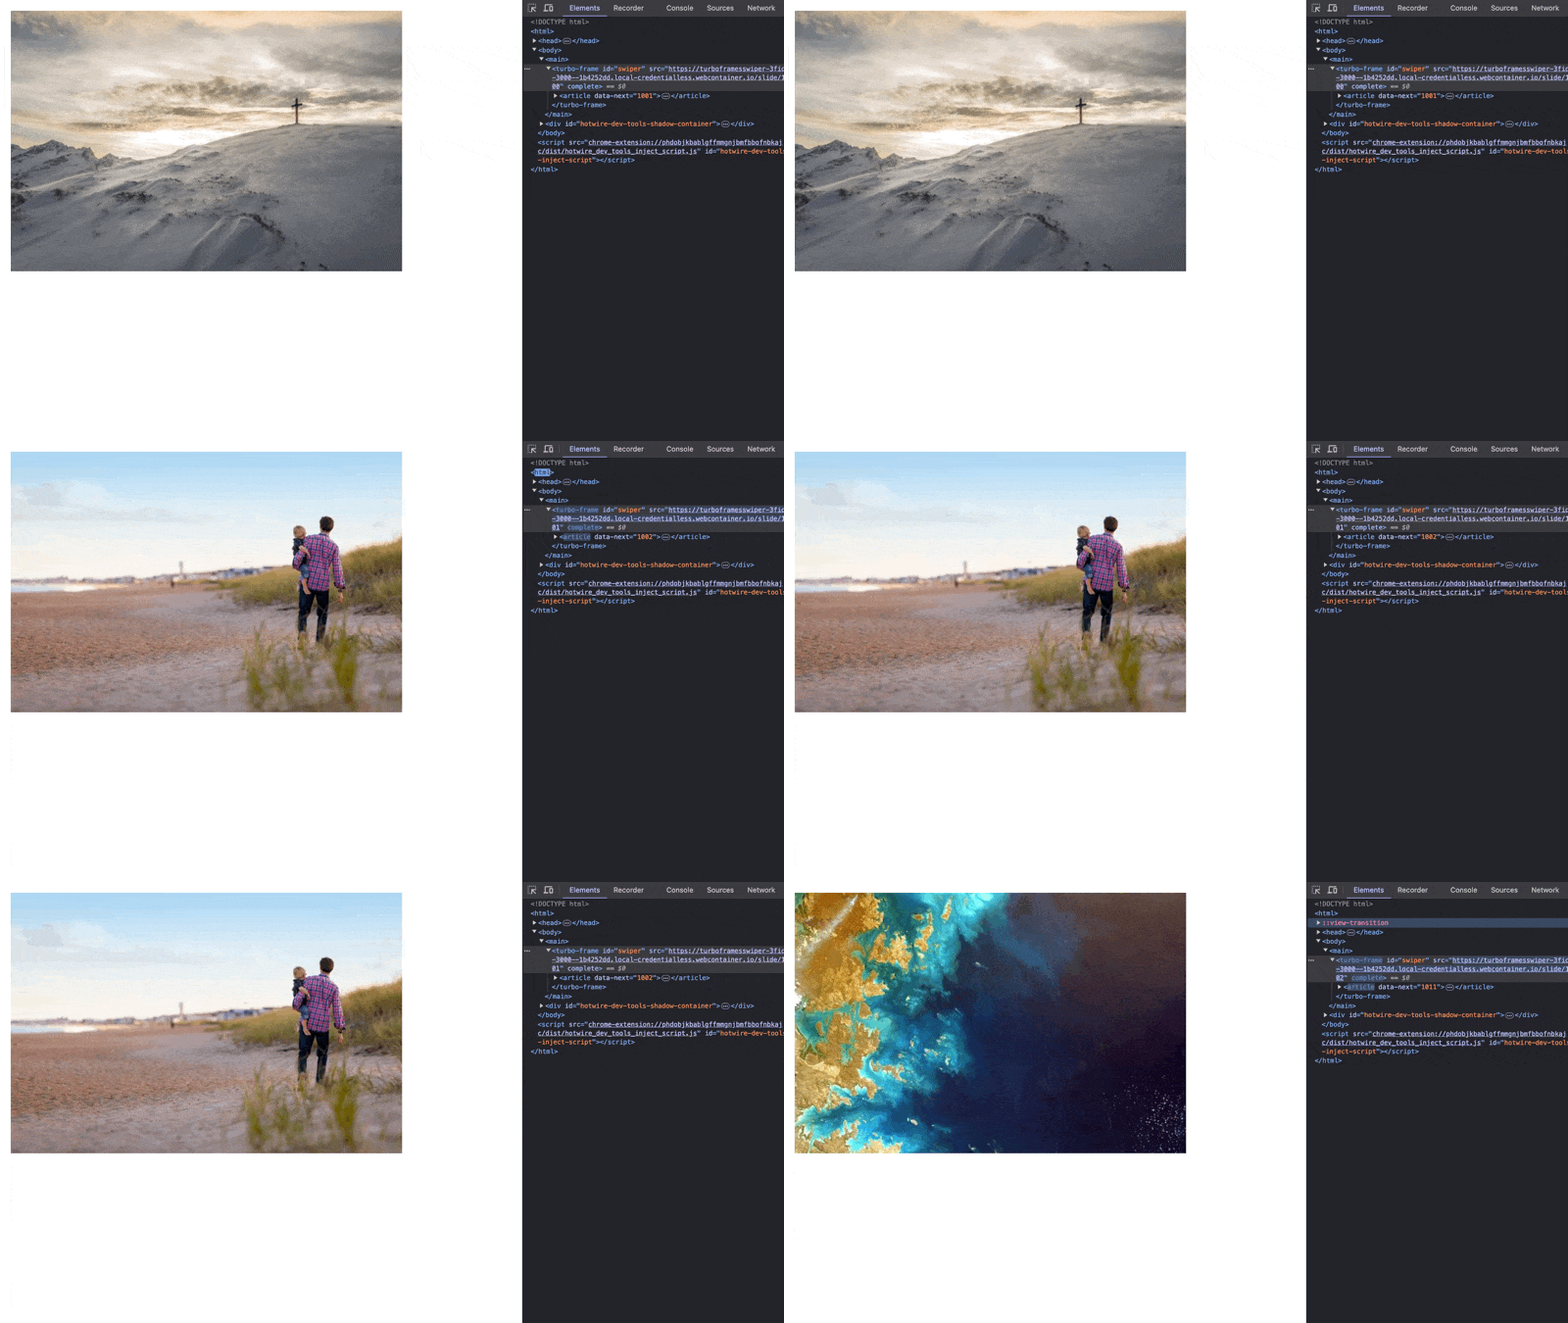
Premise
In Challenge 38, we employed view transitions to spice up regular page navigation when browsing an image gallery. This time we’ll use the same technique to drive an autoplaying swiper embedded in a Turbo Frame.
Starting Point
First of all, there’s a single Turbo Frame in our layout, that points to a route returning a slide containing an image (/slide/:id):
https://stackblitz.com/edit/turbo-frames-swiper?file=index.html%3AL41
I’ve crafted a background service returning this slide. The crucial point is that the <article> it includes already contains a reference to the next slide in form of a data attribute, like so: <article data-next="1001">. Essentially, this loops over the following array:
const slideIds = [1000, 1001, 1002, 1011];
https://stackblitz.com/edit/turbo-frames-swiper?file=index.js%3AL24
Furthermore, view-transitions.css is a stripped down version of the one we used in Challenge 38:
https://stackblitz.com/edit/turbo-frames-swiper?file=view-transitions.css
Finally, the “autoplay” feature is implemented using a simple setTimeout that’s triggered upon turbo:frame-load:
document
  .querySelector('#swiper')
  .addEventListener('turbo:frame-load', (event) => {
    setTimeout(() => {
      const nextId = event.target.querySelector('article').dataset.next;

      event.target.src = `/slide/${nextId}`;
    }, 5000);
  });
https://stackblitz.com/edit/turbo-frames-swiper?file=app.js%3AL9
Challenge
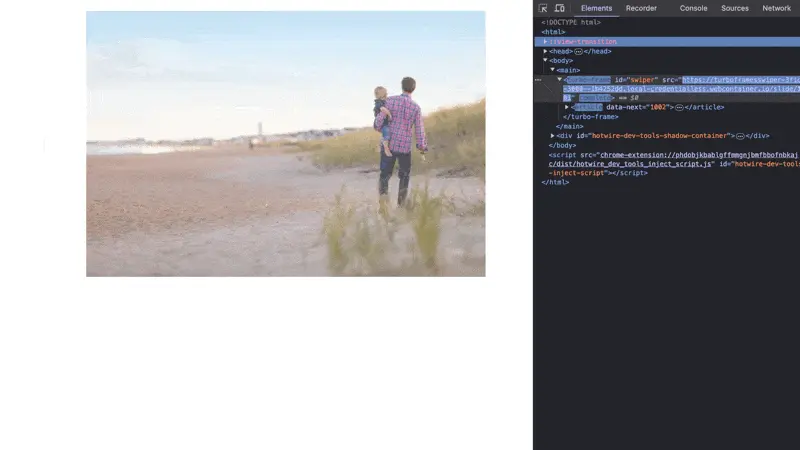
To enable view transitions we have to create a custom render function like in Challenge 2. Because Turbo Frames aren’t full browser documents, you have to use document.startViewTransition to manually trigger it:
Here’s a look at the result:


